

You guys I bought this coffee table from a yard sale website and as almost all the furniture I get from these types of places, it stunk! And it stunk bad. Maybe not as bad as the gun cabinet remodel, but still bad. Which means I have to hide it from my husband. He just doesn't have the same vision for "things" (okay, we can call it "junk") that I have. Trust me, he has some great visions for other things, like our coffered ceilings we put up in the office, our mudroom bench we built in the garage, the crown molding he put up in the dining room and the window bench he built in the kitchen! But when it comes to old furniture, it's usually just trash to him. And if I hear "why in the world did you bring that into my house" one more time, I'll quit refinishing furniture all together. So for your sake and mine, I have to hide it...until he see's how great it turned out and then he drools over it with me and tells me what a good job I did! So, like any good wife hiding something from her husband, I "ran errands", came home and backed my car into the driveway, pulled the dirty smelly coffee table out of my trunk and carried it around to the back of the house and set it by the back door. I quickly found a tarp and covered it. I figured sitting outside in the fresh air would probably do this piece of wood some good anyway. It seriously needed to air out.
So the first thing was breaking it down to get it cleaned up so I could begin turning it into what I envisioned! I knew I wanted to re-stain both surfaces in a light wood color and I wanted to paint the outer edges and the legs. I wasn't sure what color yet.
So I got out the vinegar, lysol and bug sprays and went to work sanitizing this sucker! 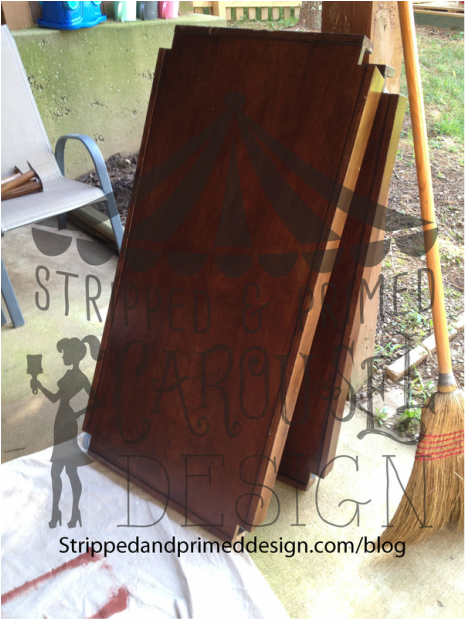
Unfortunately I did not get a photo of it before I unscrewed it all. But you can see it was just your average dark cherry wood coffee table. Nothing special really and the fact that I paid the lady any money at all for it should tell you I paid too much. In my opinion these dark cherry pieces are a dime a dozen and are quite unattractive. But trust me, I'm not saying all dark cherry is terrible. I have many dark cherry wood pieces in my house I love deeply. But I also have some I can't wait to get my sander on!
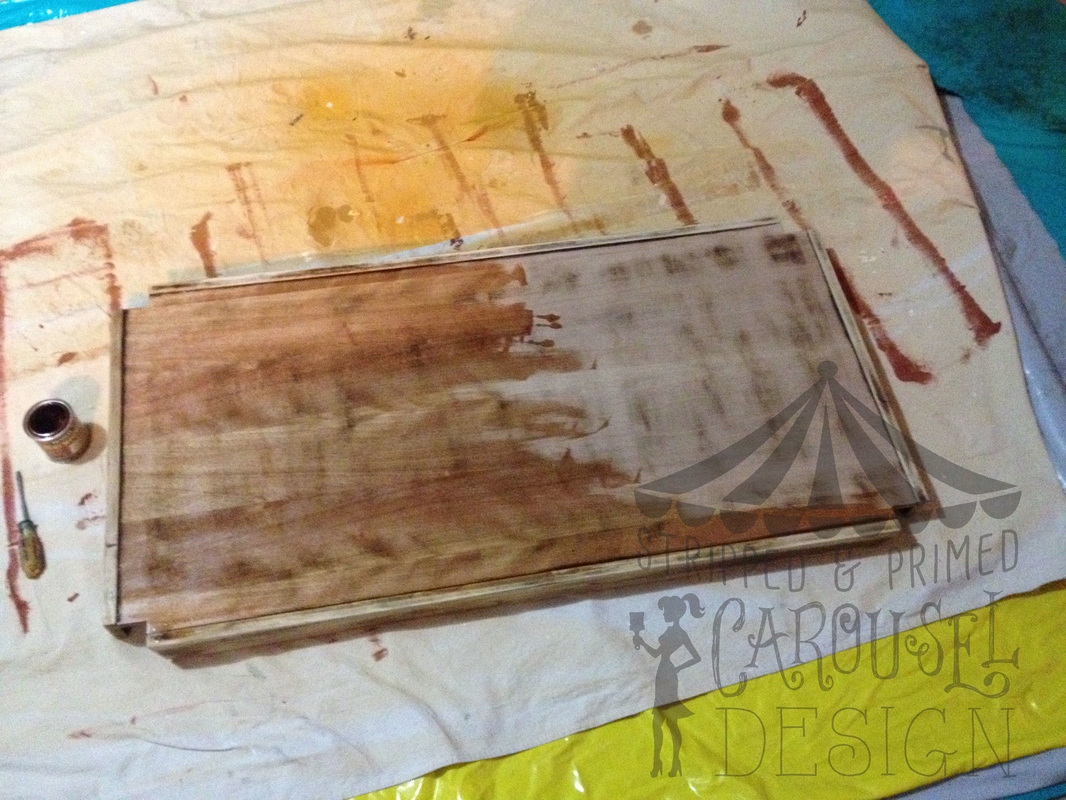
I sanded it down the best I thought I could do. I cleaned it up, prepped it for staining and begun applying a pecan finish stain. I love this mimiwax product! I've been using it on all my Growth Chart Rulers as well!
It was only after I began to apply the stain that I realized what I thought were imperfections in the wood veneer were actually old cherry finish marks that did not come off with my original sanding and stripping.
I was not happy with the way this was turning out and went back to sanding and stripping for a second time!
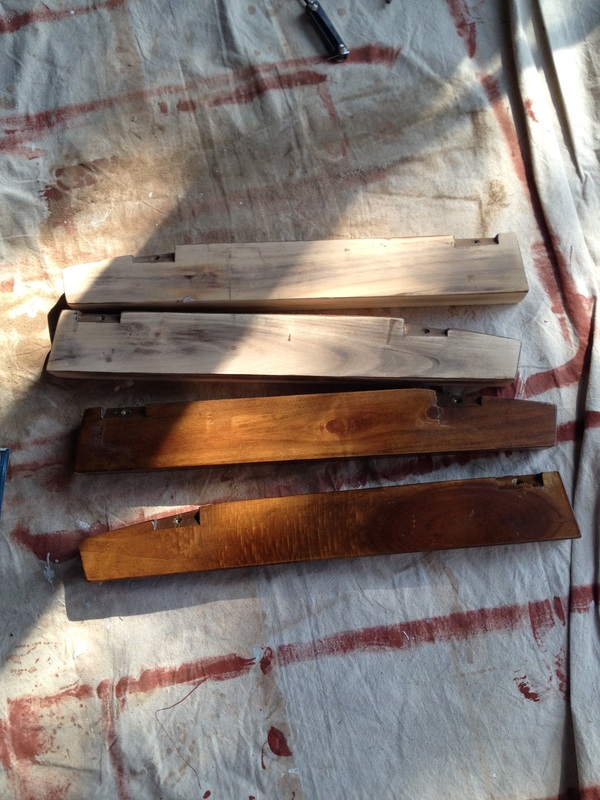
As I mentioned above, I knew I wanted to paint the edges and the legs, but I wanted to sand them as well. It is so important to me to start with what was originally there. I do not like the idea of covering up the ugly. I love getting rid of the ugly completely and starting fresh!
And so I began sanding and stripping for a second time until I was finally happy!
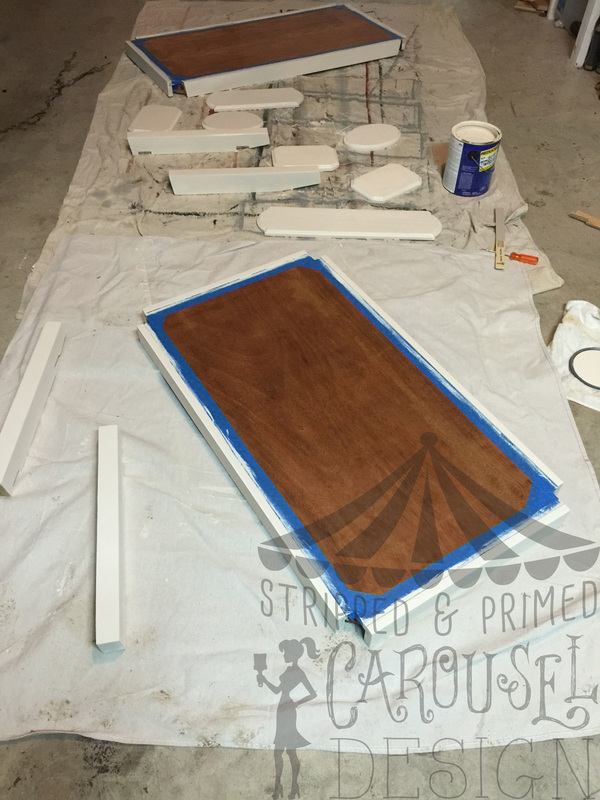
I restrained the top surfaces for a second time. Then I taped around the interior edges where I was going to paint. I really had not decided on a color yet but as I was browsing through Lowes I stumbled upon their "sale" section of paint. There was the perfect gallon for sale for $9 and the color was a cottage white!
And since I love bargains, I bought it! I starred at it for a few days before I decided to shake it up, pop the top off, and start painted! Do you want to know how to paint furniture?
It's simple really. It is just like putting on a nice smooth coat of nail polish! Seriously. You really don't want more than two or three thin coats or else it'll look pasty and thick and might even start to peel or clump up. Each coat should go on very thinly. The first cost should not look finished at all and should still show lots of imperfections. But by the time you put that second coat on it should smooth out the imperfections of the first coat and should look perfect! There is the occasional time where a third coat is needed. It is important to let each coat dry completely before putting on the next coat!
So basically if you can't paint your nails without it looking like a hot mess than you will likely not be able to paint furniture either.
I'm sure you can guess what happened. I pulled the painting tape off of the top only to find that some of the paint had leaked through. I was certain this was going to happen and was prepared with a razor blade in hand. I gently use the razor blade to scrape off any leaked paint. I razor-ed all I could until the paint formed a straight line around the perimeter of both surfaces.
Painting was complete! Wood staining was complete! Now it was time to apply a polyurethane to protect my new project from any scratches or marks!
Polyurethane should be applied in the same way as painting! Two or three thin coats! However rather than using a paint brush to apply the poly, I use a foam sponge brush. It' leaves way less streaks and goes on super smooth! 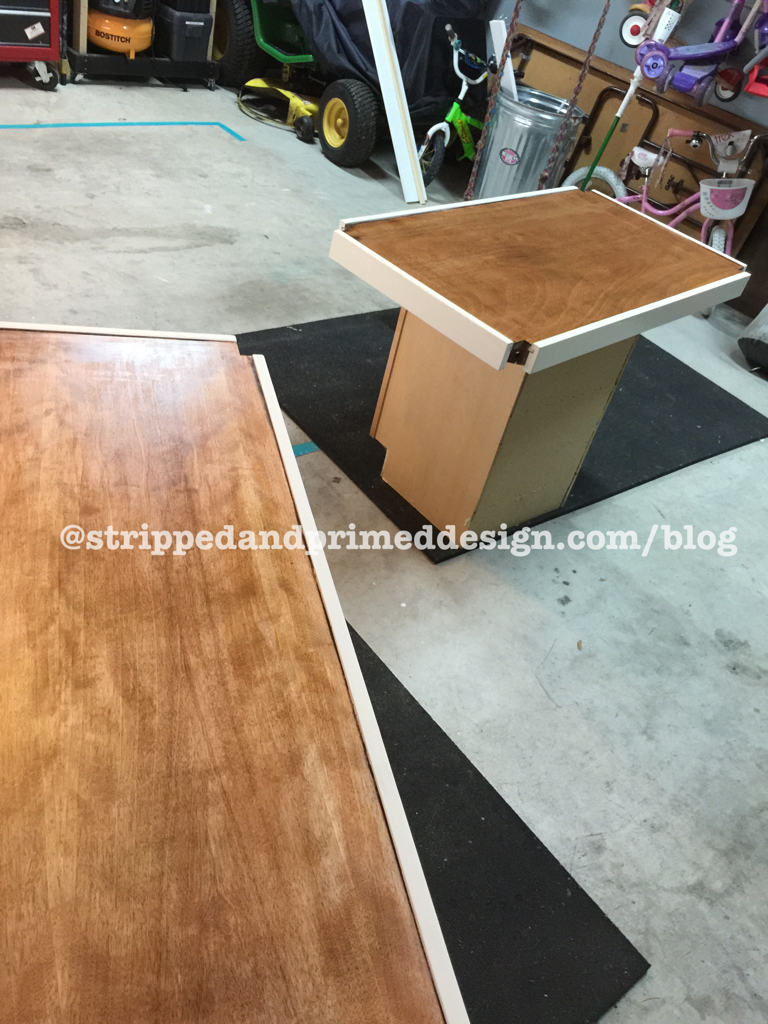
Don't forget to clean any brush or sponge that you use a polyurethane on outside or in a bucket (not the sink!) with a paint thinner product! Otherwise your brush/sponge will harden and get ruined (not that I have any first hand knowledge of this!
0 Comments
Leave a Reply. |
AuthorI am a mother of 4 small children. I am happiest when I am busiest and if the kids don't keep me busy enough I need projects to fill my days. I love Jesus and I love my family and I love the chaos around me for it brings the calm. Archives
October 2022
Categories
All
|
 RSS Feed