Stripped and Primed Carousel Design
  • Home
  • About
  • Contact
  • Blog
  • Store

Stripped and Primed Carousel Design
Blog

Butternut Squash and Broccoli Quinoa with Hummus

1/19/2016

1 Comment

 
So, this might be the most delicious thing ever!

Picture

If you know me then you know I'm not very good at following recipes. I typically look at what I have in my fridge and Google those ingredients only to read a few recipes and combine the best ideas of each and then substitute the extra stuff based on what I have available in my cupboard...and wallah!

Sometimes...ok I'll brag...a lot of times, I get a winner like this dish that is so incredibly delicious I wish someone would write down what I just did and turn it into a real recipe so that I myself could look it up later and make it the same way again!
but so often I don't write any of it down and when I go back and try to make it again it's never as good because I can't remember what I did. So I'm making a vow to you and myself that I will write down some super yummy ideas that turn into delicious feasts and make it a real recipe.
So here it goes. And please ask any questions in the comment section if something doesn't make sense. I'm not a real recipe writer.

what you need:

- 2 tablespoons of coconut oil
- 1 cup of uncooked Quinoa
- 2 cups of water
- 3 chick on bullion cubes
- 1/2 cup of plain hummus
- a handful or two of baby spinach or spring mix
-1 cup of shredded cheese
- 1 medium sized butternut squash cubed
- 1 1/2 cups of broccoli
- 1/2 cup of milk
- 1/2 cup of Parmesan cheese

what to do:

1. Preheat oven to 375 degrees
2. Grease a 2 qt oven safe baking dish with 1 tablespoon of coconut oil.
3. Pour the cup of uncooked quinoa in the dish.
4. Bring two cups of water with 3 cubes of chicken bullion to a boil. (You can do this on the stove top or in a microwave safe bowl/measuring cup)
Picture
5. Add one cup of hummus to the boiling water and bullions and stir together until hummus has thinned out completely.
6. Pour hummus mixture into baking dish onto the quinoa.
7. Lay spinach leaves or spring mix on top of quinoa.
Picture
8. Sprinkle 1/2 cup of the shredded cheese on top and bake uncovered for 20 minutes.
9. While quinoa is baking place broccoli into boiling water on the stovetop for 10 minutes.
10. While broccoli is boiling, sauté the cubed squash (unpeeled) on the stovetop in remaining tablespoon of coconut oil. Sprinkle with salt, pepper and garlic salt.
10. Drain broccoli, add remaining 1/2 cup of shredded cheese to broccoli and 1/2 cup of milk and stir together until broccoli becomes shredded.
Picture
11. After 20 minutes, remove the quinoa from the oven and add the broccoli and the cubed sautéed butternut squash.
12. Sprinkle the 1/2 cup of Parmesan cheese on top and cook uncovered for an additional 15 minutes.
Picture
13. Remove from oven and let cool for 10 minutes. Serve while it's still warm, enjoy and share it with a friend!
Picture
14. Write a comment and let me know what you think!
1 Comment

ChickPea Salad with Avocado and Almonds

1/12/2016

0 Comments

 
Picture


I made a delicious feast for Thanksgiving full of fatty foods and sugars and it was great! That was over two months ago now. And just a few weeks after when December rolled around something happened...

I decided to stop eating sugar. Not just artificial sweaters or food with added sugars, I decided to stop eating all sugar in all forms. This meant no fruit. This meant no honey.

I'm sure you are thinking I am crazy and you're trying to figure out what in the world is left to eat if I took all sugar out of my diet! And you might be wondering why in the world anyone would do this.
It all started with a conversation I had with my husband about one of our nieces who has been suffering from low energy levels on top of other ailments.

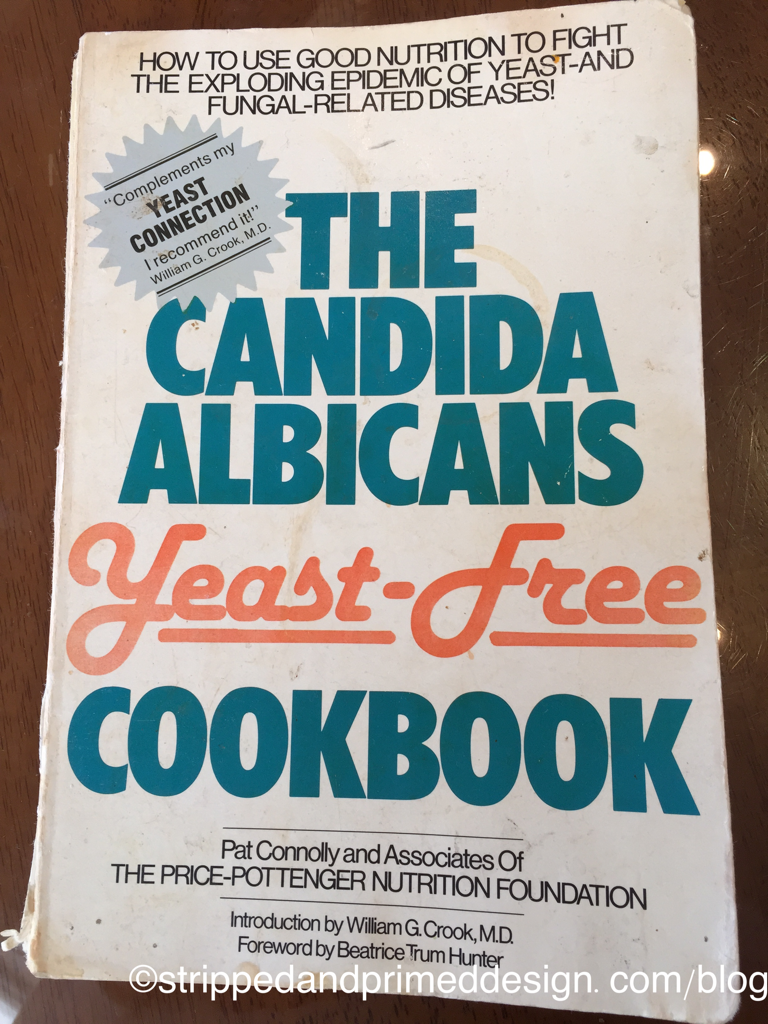
As we talked about her ailments I was quickly reminded of a time when I was in high school where I too had similar complications. It was 1996 and I was running cross country for Coral Gables High School. I was coming home after practice everyday craving bread and feeling too tired and weak to study. I was so lethargic and I just wanted to crawl into bed and sleep the rest of my life away.


My mom being the hippy she was (and still is) rarely gives in to modern medicine, so she took me to a homeopathic doctor, like every good hippy from the 60's would do. The doctor quickly diagnosed me a Candidand Dissorder.


Candida: How To Reclaim Your Body and Mind (Digestive Disorders: Leaky Gut Syndrome, Candida and Diverticulitis Book 2)

Basically I've been living on caffeine and sugar and feeling the lack of greens in my diet. And knowing myself if I don't do something drastic, I won't do anything at all. Normally I do a juice cleanse to get rid of my icky-lack-of-greens-feeling. But this time I called my mom and asked if she still had the Candida book we bought 20 years ago and if she'd bring it at Thanksgiving when she came to visit!

And well, yep, she had it. Remember, this is my mother who loves family heirlooms if you read my 
bio, and well she loves books too and when she gets a good one she holds on to it! So she brought it with her.


If you are interested in learning more about Candida there are lots of new books and recipe books available. I doubt this book from 20 years ago is even in print still. Just click here for Updated Books.  

Picture

So starting the beginning of December, I stripped out all sugars and white grains and breads and began eating vegetables and meats. Would you believe me when I tell you I've been drinking my coffee BLACK! And I love it!

I put creamer in it a few days ago for the heck of it and felt like I was being poisoned by all the preservatives! Crazy how quickly our body adapts to new normals.


I did eat a banana today and I have added some sugars back into my diet, and put honey in my tea from my dads homemade honey from Key Bee Honey. If you love honey it doesn't get any better than straight from island paradise. You can place an order for yourself right off his facebook page.
 
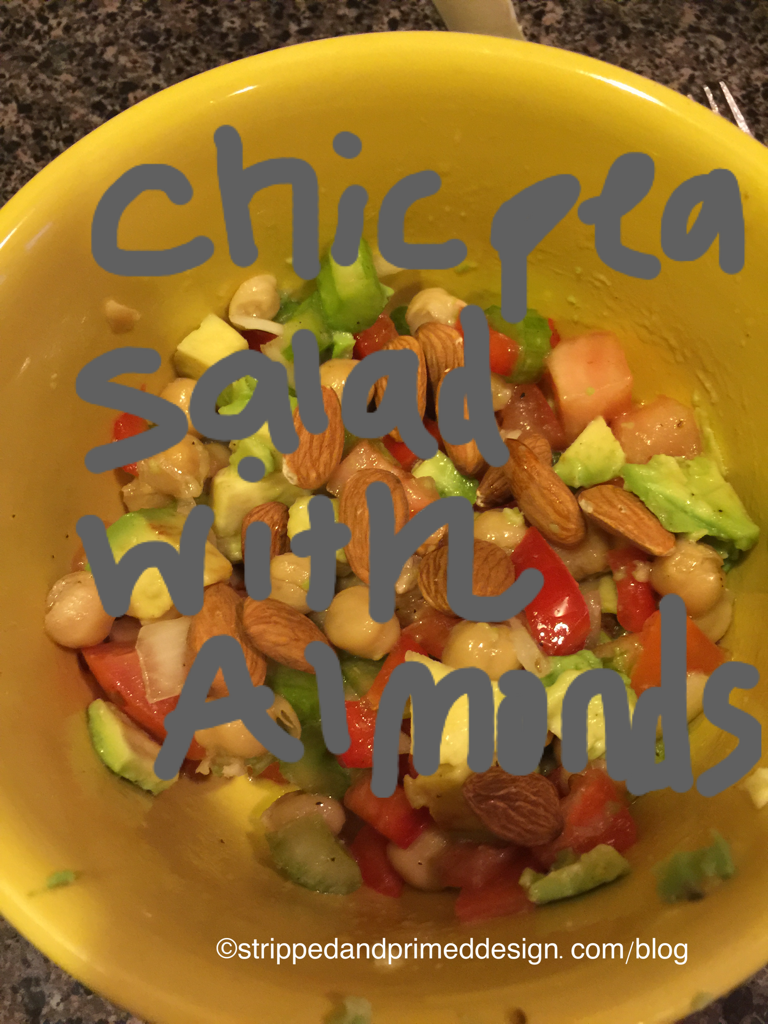
I've added a little fruit into my diet too. But mostly I've been snacking on nuts and bell peppers dipped in hummus. Our family has been eating lots of delicious meals lately like spaghetti squash and Edamame Pasta!.


And so here is a Chickpea Salad Recipe I made last night I wanted to share with you! It was delicious! And I hope you try it and love it too!
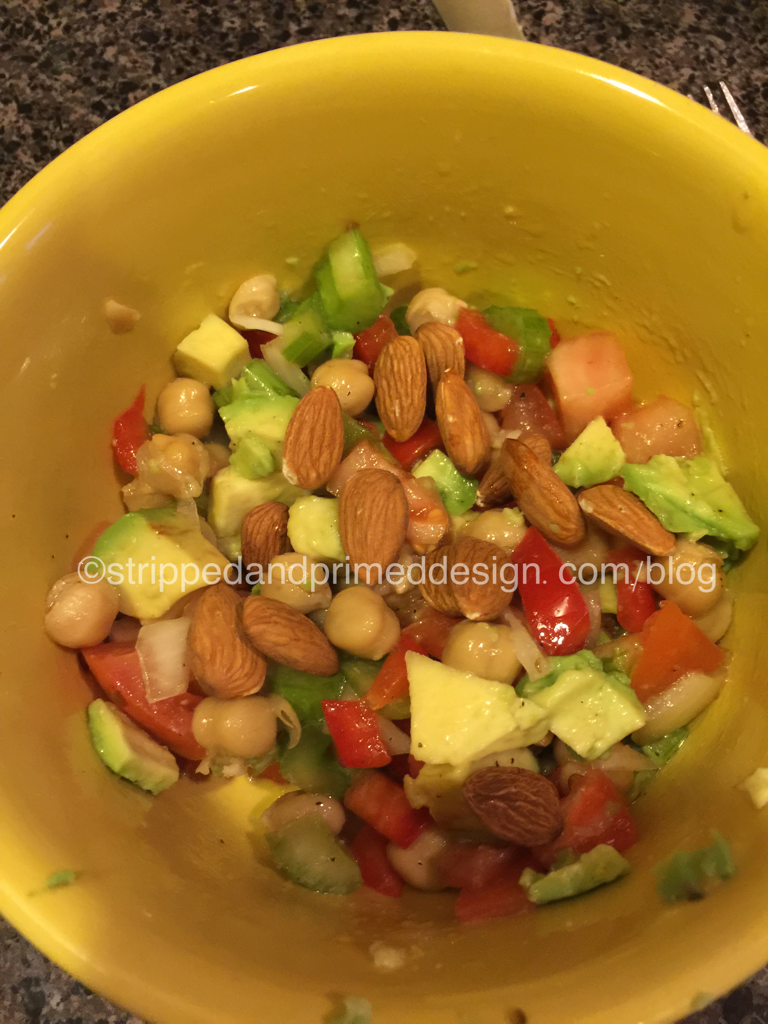

Picture


Chickpea Salad With Avocado And Almonds

what you will need :


- 2 cans of chickpeas rinsed and drained
- 1/2 of a small red onion finely chopped
- 1/2 red bell pepper finely chopped
- 1/2 green bell pepper finely chopped
- 2 celery stalks with leafy tops chopped
- 1 tomato finely chopped and seeds rinsed out
- 1 avocado sliced into squares
- 1/2 cup of Almonds (chopped, sliced or whole)
- 1 teaspoon of crushed red pepper flakes
- 1 teaspoon of garlic salt
- 2 tablespoons of red wine vinegar
- 3 tablespoons of extra virgin olive oil (I used Lemon Olive Oil we got for Christmas)
- salt and pepper to taste

directions:


1. Combine chickpeas, onion, peppers, tomatoes and celery into a large bowl.
2. Pour red wine vinegar and olive oil into the bowl, adding crushed red pepper flakes, garlic salt and salt and pepper and stir all together.
3. If you made more than you will eat store remaining salad in an airtight container and put in fridge.
4. Add avocado and almonds only to the portion you will be eating as you want these two ingredients to remain fresh.
5. Enjoy, smile, and share! 😉


0 Comments

Eggnog Pancakes

11/21/2015

0 Comments

 
My husband made fun of me the other day when I came home from the grocery store with Eggnog. He made some comment like "Welcome to 'November', the season on Eggnog" As to say that you are really not supposed to buy eggnog until December.
But everyone knows a month of December is not enough for eggnog. There should be at least two months we are permitted to drink eggnog and make all kinds of eggnog goodies. It's kinda like the pumpkin craze in October that carries into November and December! Eggnog should have it's time too!

And so, I decided to make Eggnog Pancakes

And I can promise you my husband was no longer complaining about me buying Eggnog in November. It's no Betty Crocker kind of recipe. It's straight from the box with a few minor adjustments! I hope you enjoy! I know my family did because there are none left to share!

Here is what you will need: 3 Ingredients

Picture

1. 3 cups of  Pankcake mix. 
(Anything you have in  your pantry will do. Otherwise, if you are looking for a good mix inexpensive mix, I buy mine at Target. It's $2.12 per box and then I get my 5% off by using my Target Card! )
2. 2 cups of Eggnog 
(I like the real Eggnog. Nothing that has artificial sugars or non-fat crap. And it's always cheaper when you buy the store brand.  
3. 1 cup of Chocolate Chips
(Let's face it, chocolate chips make everything better! But let's also be real about how expensive they are lately....Everywhere. So I buy mine from Costco in a huge bag for about $8.00 and they last a while. I put them in the kids muffins, yogurt, and obviously pancakes too. With Chocolate Chips, I do not substitute for the off brand. They are no good. Always get Tollhouse. They are the best! If you find the mini's, they are even better!

Directions

1. Follow mixing directions on the back of the pancake mix box. Except where it calls for water or milk, substitute Eggnog in it's place. For example, if box calls for 2 cups of water, use 2 cups of eggnog instead.
If the box does not call for any eggs, you can still add one. It'll make your pancakes extra fluffy, as will the eggnog.

2. I pour my mix into a cupcake batter dispenser or also called a cupcake pen. If you do not own one of these you should buy one right now! They are amazing for pancakes or the like. My kids love pancakes and these help make all pancakes fun. You can make animals, letters, number and other things so easily! Even if you are just doing circles, they come out even and perfect every time!
3. If you are using a griddle, set it for 325. If only take a second to warm up and use your dispenser pen to make circular pancakes.

4. Place two or three chocolate chips on each pancake while it is cooking. One the top of the batter starts to form little bubbles, flip pancake to chocolate chip side down. Only leave down on the chocolate chip side for about 30 seconds before using a spatula to scoop up and put on a warm plate.

5. I like to stack the pancakes as they come off the hot griddle so they keep each other warm. The only problem I have is that my kids don't wait for breakfast to be served, They immediately start steeling warm pancakes off my stacks and by the time I'm finished baking all the batter, the pancakes are nearly gone!
Picture

The reason why I put chocolate chips in pancakes

For many breakfasts I have made pancakes and used syrup or honey for dipping sauce. With a two year old, two four year olds and a six year old, syrup and honey end up everywhere. All over my table, all in the hair and if it is a school day then we would spend time getting syrup and honey out of hair. It drove me nuts.

So I switched to plain pancakes and I started to spread a bit of Nutella or Peanut Butter on each pancake and served them that way. Well, I had no luck with that. I ended up getting peanut butter and chocolate all over the kids hair, hands and faces.

And this is why I landed on putting chocolate chips inside the pancakes. Something about having those little bites of chocolate inside eliminates any need for any kind of dip or spread. No syrup in the hair or peanut butter smeared all over their clothes.

Hope you enjoy some Eggnog Pancakes yourself! If you've made them before or do something different, please comment on your Eggnog Pancake secrets! Or if you try this for the first time, leave me a comment and let me know what you think!  

0 Comments

Quick Dinner for 6

10/23/2015

0 Comments

 
I had plans to go out for a glass of wine with a friend after the children were in bed. This is a rare occasion. And quite frankly I can't remember if it's ever happened before. I'm guessing it has but after 4 kids my memory is shot so in actuality it may be an isolated occasion. The only one of its kind so far...or at least in the last few years.

I knew I needed to fill my children's belly's before I left and especially my husbands, because let's face it, he'll have a much better attitude about me leaving him with four children if he is served a nice warm meal upon arriving home from work.

I enjoy cooking for my family but sometimes I just don't feel like cooking! Do you know that feeling? You may feel the same way sometimes so you throw a frozen meal in the oven and wallah! Dinner is served! And there is nothing wrong with that!

I personally did not grow up eating frozen meals and therefore rarely buy them and my freezer is definitely not stocked up with them.  We cook the occasional frozen pizza or chicken nuggets here and there but that's really about it.

So this meal is not a frozen meal per say, although a lot of the food started our frozen! And this mean is really nothing exciting, just easy, healthy and filling! If you don't already have a similar meal stashed away in your recipe book or dinner menu then I hope you will try it.

Here's what you will need:


  • 4 frozen chicken breasts without bone
  • 1 cup of marinade (I used half a bottle of Kikkoman's Teriyaki sauce and 1/4 cup of Maple syrup, but you can use whatever you have! Salad dressings make great marinades as does a simple can of salsa!)
  • 1 cup of water (to be mixed with marinade)
  • 1 bag of steamable veggie's (my kids love edemame, probably because of the salt, but they also love getting the beans out...an excuse to play with their food, but they eat it!)
  • 1 box of macaroni (we bought a huge case Annie's Homegrown at Coscto and we love the healthy choice) 
Picture
Step 1:
You'll need to thaw the chicken in the marinade.
Around 2pm that afternoon I took out four frozen chicken breasts and put them in a zip lock bag. I filled the ziplock bag with 1/4th of the Maple Syrup jar and about half of the Teriyaki sauce bottle. I left the zip lock bag full of my marinade and chicken in cold water in the sink for about an hour then transferred to the fridge as it continued to thaw.

I didn't touch anything again until 5pm and 25 minutes later dinner was served.

Step 2:
Preheat your oven to 400 (I used the conventional setting on my oven, but if you don't have a conventional setting, just go ahead and set it to 400 as well and you'll need to cook it longer).

Step 3:
Arranged the chicken on the pan and set the timer for 10 minutes if using a conventional oven. Otherwise set for 15 minutes.

Step 4:
Flip your chicken over.
After 10 minutes I flipped chicken and cooked another 10 minutes for a total of 20 minutes in the oven. (if not using a conventional oven, cook another 15 minutes on the other side).

Step 5:
While your chicken is in the oven cook your macaroni and Edemame per the package instructions.

 Within 25 minutes my stove looked like this:


Picture

And just like that dinner was served.


Picture

Belly's were full. Children and husband were happy and this momma went out and enjoyed a glass of wine and good conversation with a friend.

Now it's your turn to do the same...

Please share with me what meals you have made that are similar to this one. If you have tried this please let me know what you think! Would love to hear your feedback!
0 Comments

    Author

    I am a  mother of 4 small children. I am happiest when I am busiest and if the kids don't keep me busy enough I need projects to fill my days.  I love Jesus and I love my family and I love the chaos around me for it brings the calm.

    Archives

    October 2022
    November 2016
    March 2016
    February 2016
    January 2016
    December 2015
    November 2015
    October 2015

    Categories

    All
    Birth Stories
    Family
    Food
    Furniture
    Holiday
    Home Improvement
    Marriage
    Raising Children

    RSS Feed

Proudly powered by Weebly
  • Home
  • About
  • Contact
  • Blog
  • Store